
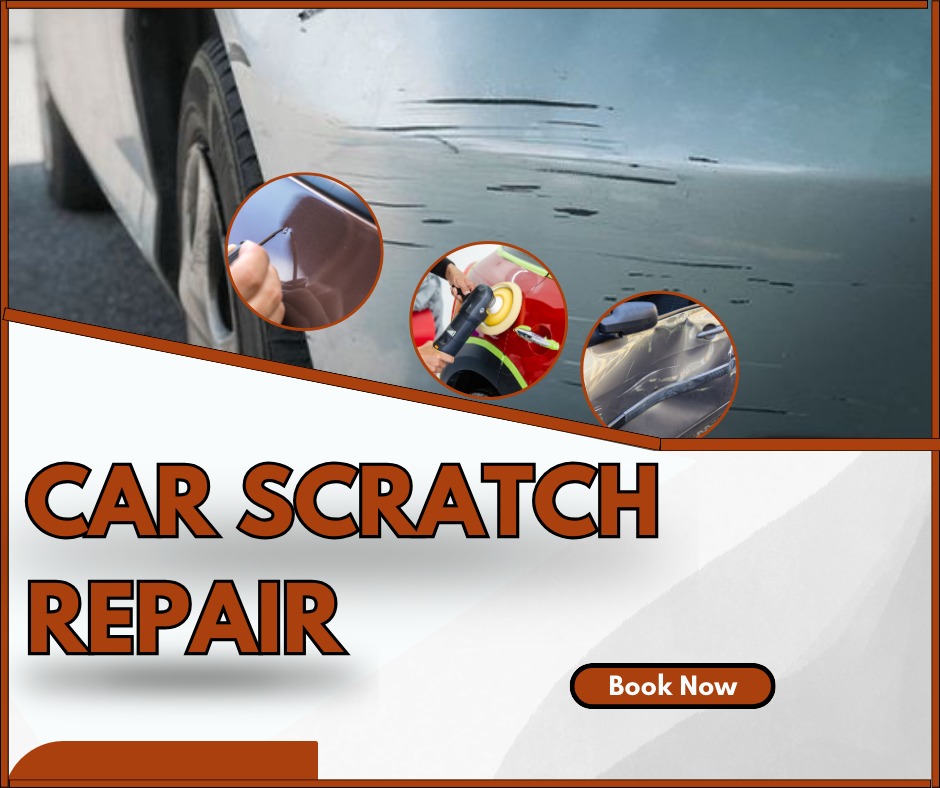
Fixing Car scratches can be a real thorn in our side, making our beloved vehicles look a little less attractive. But fear not! Before you fret and head straight to the repair shop, there’s a way to manage those unsightly marks yourself. This guide will equip you with the knowledge to fight back against scratches and repair your car’s shine.
Understanding the Scratch: A Closer Look
The key to repairing a scratch lies in understanding how deep it goes. Think of your car’s color as a layered cake. Here’s what we’re dealing with:
- Clear Coat: This is the topmost layer, like the whipped cream on the cake. Scratches here are the most common and the easiest to fix.
- Base Coat: This is the colored layer, the cake itself. Scratches here might need a bit more effort.
- Deep Scratches: If the scratch catches your fingernail, it might have reached the metal beneath, like hitting the pan of the cake! These are more problematic to fix ourselves.
Choosing the Right Weapon: Scratch Remover For Car
Now, let’s talk about the tools we need to fight those scratches! There are various types of scratch removers, each with its own strengths:
Scratch Remover For Car With a Polish: These are like gentle warriors, using mild abrasives to buff out the scratch without damaging the paint. Perfect for those clear coat and light base coat scratches!
Rubbing Compounds: Think of these as stronger warriors. They tackle more serious base coat scratches but be careful, they might remove some of the clear coat as well. Use them with a light touch!
Scratch Removal Kits: These handy kits often come with a polishing pad to make things more uncomplicated and quicker. A good option for those who want a more effective solution.
Touch-Up Paint: If the scratch is really deep, this acts like a temporary bandage. You can fill the gap and match the colour, but it might not fully hide the scratch.

The Battle Plan: Applying Scratch Remover Safely
Before we jump into battle, let’s gather our supplies:
- Your chosen scratch remover for car
- Soft, clean cloths (two, one for applying and one for buffing)
- Masking tape (optional, to protect other areas)
- Spray bottle with clean water (optional)
Here’s how to fight those scratches step-by-step (remember, specific instructions might vary depending on the product):
Give it a Good Wash: We need a clean battlefield! Wash the scratched area thoroughly to remove any dirt or debris that could aggravate the situation. Dry it completely with a soft cloth.
Protect Your Allies (Optional): If the scratch is near other car parts, use masking tape to shield them from accidentally getting scratched by the remover.
Apply the Scratch Remover: Put a small amount of scratch remover for car on your clean cloth. Depending on the product, you might need to dampen the cloth slightly.
Buff it Out!: In a gentle back-and-forth motion, buff the remover onto the scratch. Use light to moderate pressure, following the scratch’s direction. Think of it as a gentle massage!
Fight in Sections: For larger scratches, tackle them in small sections at a time. This ensures even application.
Wipe Away the Foe: Once you’ve buffed enough, use the other clean cloth to wipe off any leftover remover.
Repeat if Needed: If the scratch isn’t gone yet, you can repeat the process, but be gentle!
Some Important Tips:
- Always find a shady, well-ventilated area. The sun and heat can be your enemies!
- Don’t use scratch remover for car in direct sunlight.
- Don’t use it on a hot car surface. Let it cool down first.
- Always try the remover on a small, unnoticeable area first, just in case..
Some Advanced Techniques
If you’re confident and want to take your expertise to the next level, here are some advanced techniques:
The Polishing Pad: Some removers work with a polishing pad attached to a drill. This gives you more power for tougher scratches, but be careful not to push too hard!
The Art of Buffing: The key to success is a light and even touch. Buff in a back-and-forth motion, not circles, to avoid making new marks.
Claying: If the scratch has dirt or debris stuck in it, clay can be a helpful first step. It’s like a gentle scraper that removes these things without damaging the paint.
Bringing Back the Glimmer: Polishing and Waxing
Once you’ve defeated those scratches, it’s time to fix the area’s shine and make your car truly victorious! Here’s how:
- Polishing: Think of polish as a shining suit of armour for your newly buffed area.It removes any moisture left behind by the remover and gets back the paint’s gleam. Use a small amount of polish to a clean cloth and buff the area in a circular motion.
- Waxing: Finally, apply a coat of car wax like a defensive shield. Wax repels water, covers the paint from future scratches and environmental damage, and adds an additional layer of shine. Pick a high-quality wax designed for your car’s paint type.
Final Verdict:
By following these tips and utilising scratch remover for car effectively, you can keep your vehicle looking its best and avoid the need for expensive restorations. Remember, a little effort goes a long way in maintaining a scratch-free, gleaming finish.